
Guts and Blackpowder Maps: Modes, Routes, and Rewards
Explore Guts and Blackpowder maps, compare Objective, Holdout, and Endless modes, and learn routes, survival tactics, and badge goals for your next run.
Jump to
Which Maps Can You Play?
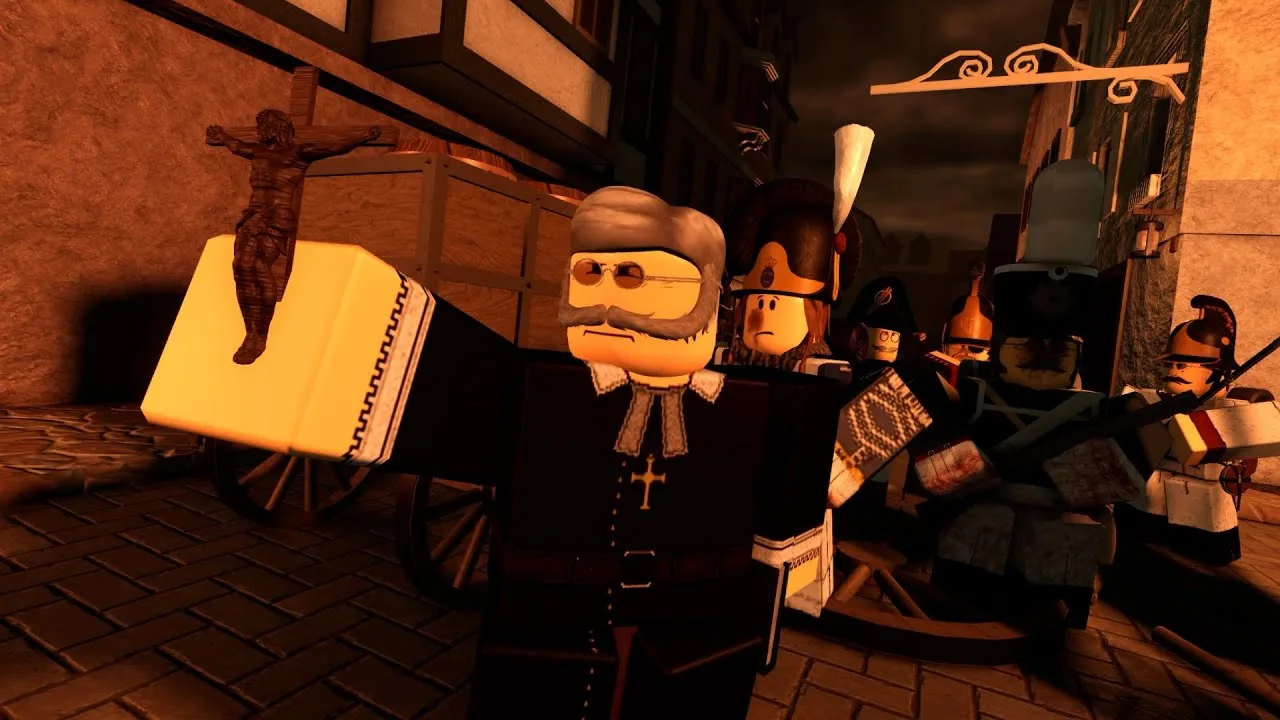
A cramped hallway full of Bombers demands a different plan than an outdoor defense. Guts and Blackpowder maps include Objective escapes, Holdout defenses, Endless survival, and seasonal adventures. Knowing the mode and its main hazards helps you prepare for the section most likely to end your run.
| Mode | What your team does | Maps and examples |
|---|---|---|
| Objective | Complete a sequence of tasks and survive the escape | Catacombes de Paris, Vardohus Fortress, Leipzig, Kaub, San Sebastián, London, Westminster, Moss Ironworks, Copenhagen, Roscoff |
| Holdout | Defend while completing a major task or surviving a fixed number of waves | Berezina, Saint Petersburg, Trafalgar House |
| Endless | Survive successive waves for as long as possible | Vardohus Fortress has an Endless version |
| Halloween campaign | Complete seasonal scenarios and boss encounters | Transylvania, Road to Sleepy Hollow, Sleepy Hollow |
The v0.17.0 update introduced Moss Ironworks and Trafalgar House. Vardohus Fortress also received an Endless version in v0.16.11, so the location alone does not tell you which kind of round you are joining.
For a difficulty ladder, start with the more forgiving Objective routes, then tackle the longer escapes and coordinated defenses. Keep Endless separate: surviving another wave measures something different from finishing an escape without dying.
Official page: Guts and Blackpowder (roblox.com)
Easier Objective Routes: Catacombs Through San Sebastián
These routes offer room to learn melee spacing, special-enemy awareness, and escape timing. Their danger comes from different places, though, so avoid treating every finale the same way.

Catacombes de Paris
The Catacombs keep Bombers out of the route until the finale. Much of the journey centers on moving together through the tunnels and clearing enemies, followed by a cannon-supported defense.
Stay with the group during the approach, then help cover the final firing lanes. Use the cannons to thin the horde rather than pushing out into it. The late arrival of Bombers makes this a forgiving route for learning the basics, but the ending still rewards attention.
Vardohus Fortress
Vardohus introduces frostbite alongside an escape objective. Warming locations along the route make the cold more manageable here than during Berezina’s bridge defense.
Warm up as you advance, and avoid chasing enemies away from your teammates. At the finale, use the side cannons’ canister fire to help control the approaching horde.
Leipzig
Leipzig is approachable, but explosive enemies can appear near the opening church. Its later holdout also punishes players who stop watching for armored threats.
Check the doorway before rushing outside. During the defense, keep checking the approaches instead of focusing on a single enemy. Once the escape opens, clear the bridge explosion area promptly—the blast has its own death badge, Slight Miscalculation.
Kaub
Kaub’s tight interiors make Bombers more dangerous than they are in an open firing lane. Carrying objective items also reduces movement speed, adding pressure when the route becomes crowded.
Clear space before moving an item through a narrow passage. For the cellar finale, help the Sapper maintain the defensive position and cover enemies approaching the team. Avoid bunching up around an explosive threat.
San Sebastián
San Sebastián’s length gives small mistakes more time to accumulate. Its route includes several defensive pauses before the final escape, making steady teamwork valuable even when an individual section feels manageable.
Stay close enough to rescue grabbed teammates, and watch the route before taking a drop. At the ending, the winch interaction matters: lowering the escape platform for your team awards Vos Enterrement.
London and Westminster: A Two-Part Escape
London and Westminster form a two-part campaign. Madcaps of London requires completing London and then Westminster in one continuous life, with no retries, and rewards the Coldstream Guards.
That makes surviving London only half the challenge.
London: Watch the Sharpshooter
London combines a lengthy route with a dangerous sharpshooter encounter. Getting past that section requires attention to the interval between shots.
Use cover and move during the firing gap. Avoid crowding an exposed crossing while waiting for teammates.
The finale shifts the pressure toward horde control. Help Sappers establish defenses around the available platform, and keep shooting lanes clear while the team handles the remaining tasks.
Westminster: Respect the Ending Timer
Westminster adds heavy enemy pressure and an ending that forces the team to move quickly. Bombers become especially disruptive when everyone is trying to complete the same urgent task.
Keep the objective moving while other players cover the approaches. Bring a Chaplain into the response to the viral knight, and avoid spending the final stretch fighting enemies that are pulling you away from the escape.
Westminster also has a separate flag objective. Bringing the King’s Colour to the end awards Save the Colour!
Moss Ironworks, Copenhagen, and Roscoff: Demanding Objective Maps
These escapes combine active tasks with dangerous fighting spaces. Players carrying materials, operating machinery, or moving an object need teammates covering them throughout the interaction.
Moss Ironworks: Protect the Production Tasks
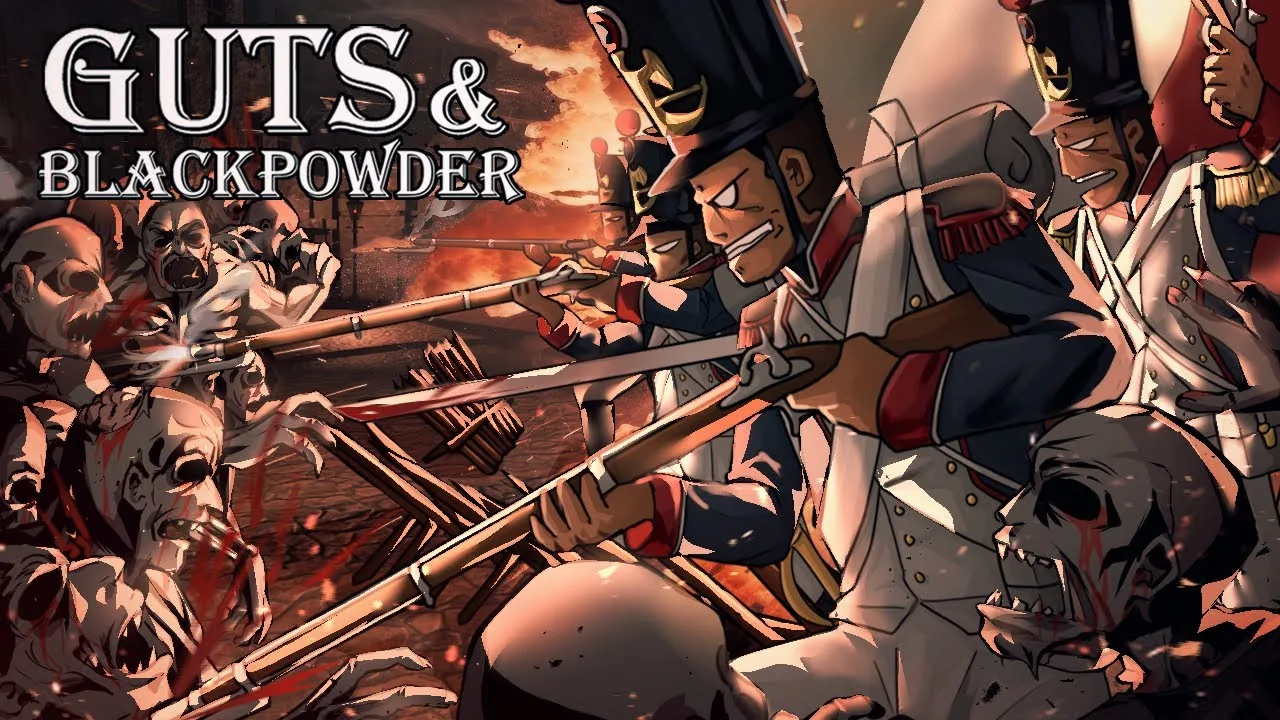
Moss Ironworks moves through a burning-gate task, a sled section, material collection, and a demanding foundry finale. The tighter stretches make heavy enemy pressure harder to manage.
At the foundry, the team must collect and smelt materials for swivel guns, fetch river water to cool them, and survive until the boat arrives. Enemies approach from several directions, including the river and surrounding slopes.
Split collection and defense duties. Check whether a teammate has already taken a material before running toward it, and cover anyone heading to the river. During the final wait, watch the approaches opened up by the broken bridge instead of relying entirely on close-range fighting.
Copenhagen: Keep Your Sappers Alive
Copenhagen’s narrow halls and tunnels make visibility and explosive enemies a constant problem. Plank collection, water tasks, and defensive encounters require players to work in different roles without abandoning one another.
Leave room for teammates to see and shoot. During the bucket section, divide water collection and horde defense rather than sending everyone toward the same task.
The boat escape adds attacks from a British vessel. Protect surviving Sappers so they can build the boat’s defensive structures while the rest of the team handles boarding enemies and incoming pressure.
Roscoff: Cover Every Working Group
Roscoff repeatedly asks the team to move or operate something while enemies attack from multiple directions. The anchor, cart, church, underground wheel, and gate sections all put objective workers at risk.
Assign cover before starting an interaction. If everyone gathers around the object being moved, another approach can quickly become a route into the team’s back.
The ship finale is an endurance test. Enemies arrive aboard the ship and climb its sides, making a quiet-looking corner unreliable.
Cover teammates while they heal, watch the railings, and maintain Sapper defenses. Roscoff also has an escort goal: Search and Rescue requires escorting the diplomat and escaping alive after playing from the beginning.
Holdout Maps: Bridge Building, Ten Waves, and Four Zones
Saint Petersburg requires surviving 10 waves, while Trafalgar House requires 6 waves. Trafalgar House also has a separate achievement for preventing all four defensive zones from falling, which adds a tougher goal beyond completing the map.
Berezina: Balance Bridge Progress and Warmth
Berezina revolves around building a bridge while waiting for further wood deliveries. Frostbite complicates the work because warming opportunities are limited, and returning to the church interrupts construction.
Rotate between building and warming up before the cold becomes critical. Keep defenders near the work area, and help Sappers protect the church so returning builders have somewhere to recover.
The Beresinalied badge depends on contributing to bridge construction or providing enough support to the team. Participate in the work or its defense throughout the round.
Saint Petersburg: Manage Escalating Waves
Saint Petersburg grows more demanding as its waves progress. Enemies can still appear during the breaks, so a pause between waves does not mean every approach is safe.
Use those pauses to heal, resupply, and restore defenses while someone watches for stragglers. Coordinate grenades, splash damage, and slowing utilities against concentrated groups.
The outdoor layout gives these tools more room than the cramped interiors of Copenhagen or Trafalgar House. Use that space to maintain clear firing lanes and keep special enemies from reaching the defensive position.
Trafalgar House: Decide Who Covers Each Zone
Trafalgar House spreads the defense across four areas, with cramped rooms and hallways making Bombers especially dangerous. Resupply boxes help sustain the defense, but their long cooldown means constant utility use can leave a section short.
Assign defenders across the house before pressure builds. Keep checking whether another zone needs help, and preserve enough space to react when an explosive enemy enters a crowded room.
For Every Man’s Duty, protect all four zones from falling. That is a separate challenge from Dead of Night, which rewards surviving all six waves and defending the house.
Endless Survival and Halloween Maps
Endless rewards a stable defensive setup that the team can maintain across successive waves. Choose a position with controllable entrances, then divide melee coverage, special-enemy shooting, healing, and construction duties.
Keep supporting roles protected. A defensive position loses value quickly if its Sappers cannot repair, its Surgeon cannot heal safely, or every firearm is reloading when a special enemy approaches.
If you are pursuing Soldats de ma Vieille Garde, the Endless requirement is surviving 35 rounds without restarting. It can begin at any wave, but that requirement is only one part of the badge’s full checklist.
Transylvania
Transylvania centers on preparing silver ammunition and defeating Dracula. Follow the objective sequence:
- Gather Silver from chests and loot outside the castle.
- Deposit it in the kitchen’s melting pot.
- Load the resulting silver bullets into firearms and use them against Dracula.
- Defeat the undead summoned after the opening encounter, then confront Dracula upstairs.
- Push the downed vampire into his coffin and close it.
- Take the stake from a coffin containing a skeleton and use it on Dracula’s coffin.
Watch for the dark bat-like effects associated with Dracula’s movement. Silver ammunition deals more damage to him than saber attacks, so keep the team supplied during the fight.
Completing Transylvania without dying awards Voivode and unlocks the Voivode and Iron Stake items.
Road to Sleepy Hollow and Sleepy Hollow
Road to Sleepy Hollow leads into the Sleepy Hollow campaign and its Headless Horseman encounter.
Beating Sleepy Hollow without dying awards For Whom The Bell Tolls, unlocking the Jack-o’-lantern Utility. For Saviour Complex, complete Transylvania and the full Sleepy Hollow campaign back to back, including both Road to Sleepy Hollow and Sleepy Hollow.
Map Badges and Their Exact Completion Goals
Several escape badges require surviving in one life. A team victory after your death does not meet that condition, so choose whether you are practicing the objective or attempting a clean completion before committing to a difficult interaction.
| Map | Badge | Requirement |
|---|---|---|
| Vardohus Fortress | Cold Front | Escape in Objective mode in one life |
| Leipzig | Explosive Retreat | Escape in Objective mode in one life |
| Catacombes de Paris | Deliverance from the Catacombs | Escape in Objective mode in one life |
| San Sebastián | Forlorn Hope | Escape in Objective mode in one life |
| Kaub | Confederation of the Undead | Survive in Objective mode in one life |
| Copenhagen | The Most Terrible Night | Escape in Objective mode in one life |
| Roscoff | Don't Give Up the Ship | Escape in Objective mode in one life |
| London | The Great Wen | Complete Objective mode in one life |
| Westminster | How Stands The Bridge Around | Escape in Objective mode in one life |
| Moss Ironworks | Forged In Fire | Escape in Objective mode in one life |
| Berezina | Beresinalied | Contribute enough to bridge building or team support |
| Saint Petersburg | Rejoice, St. Petersburg! | Survive all 10 waves and defend Saint Petersburg |
| Trafalgar House | Dead of Night | Survive all 6 waves and defend Trafalgar House |
For Glory to the Survivors, complete an eligible campaign map with 10 players still on their first life. The badge requires at least 10 players and excludes Vardohus Fortress. Coordinate rescues and healing throughout that attempt: keeping teammates alive is part of the goal.
Continue with
 Guts and Blackpowder Saint Petersburg: Holdout GuideGuts and Blackpowder Saint Petersburg tasks your team with surviving 10 Holdout waves. Learn the badge requirement and prepare for the city's undead siege.
More in Maps
Guts and Blackpowder Copenhagen Map Walkthrough & Secrets
Beat Guts and Blackpowder Copenhagen with this full map walkthrough: barrel bridge, attic fire, burning ship jump, gunboat finale and all hidden secrets.

Guts and Blackpowder When Will the Paris Update Come Out?
Guts and Blackpowder: when will the Paris update come out? Get the latest on the Catacombes de Paris revamp delay, map objectives, and holdout strategy.

Guts and Blackpowder Leipzig: Escape and Badge Guide
Guts and Blackpowder Leipzig guide: learn how to earn Explosive Retreat, avoid a fatal bridge explosion, and work toward unlocking the Old Guard Regiment.
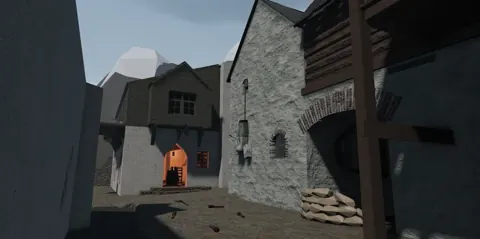
Guts and Blackpowder Sleepy Hollow: Map & Badge Guide
Explore Guts and Blackpowder Sleepy Hollow, learn how to earn the Jack-o'-lantern Utility, and separate its badge goals from The Hollow event requirements.
Continue exploring

Guts and Blackpowder Saviour Complex: Unlock Guide
Learn the Guts and Blackpowder saviour complex requirements, clear Transylvania, and complete both Sleepy Hollow maps back to back to earn this badge.
Guts and Blackpowder The Hollow: Badge & Ticket Guide
Complete the Guts and Blackpowder The Hollow quest, defeat Dracula in Transylvania, and earn your badge plus 20 Tickets. Follow each step to claim rewards.
Join the community
Official channels for news, updates and player help: